I’m starting a blog and I don’t want to pay for it. I’m cheap.
In this post, I’ll share my experience of setting up a blog with Jekyll and GitHub as I go through the process myself.
Why Jekyll and GitHub Pages?
I actually started with GitHub Pages because it’s been on my list of things to try out. I landed on Jekyll because a quick search on Google for the term “github blogging” said that’s what I should use.
Getting started
Starting with the Jekyll instructions:
gem install bundler jekyll
jekyll new my-awesome-site
cd my-awesome-site
bundle exec jekyll serve
# => Now browse to http://localhost:4000
Browsing the site was about what I expected. Simple and sparse, which is a great start but I’m definitely going to be looking for a new theme (I’ll cover that in another post).
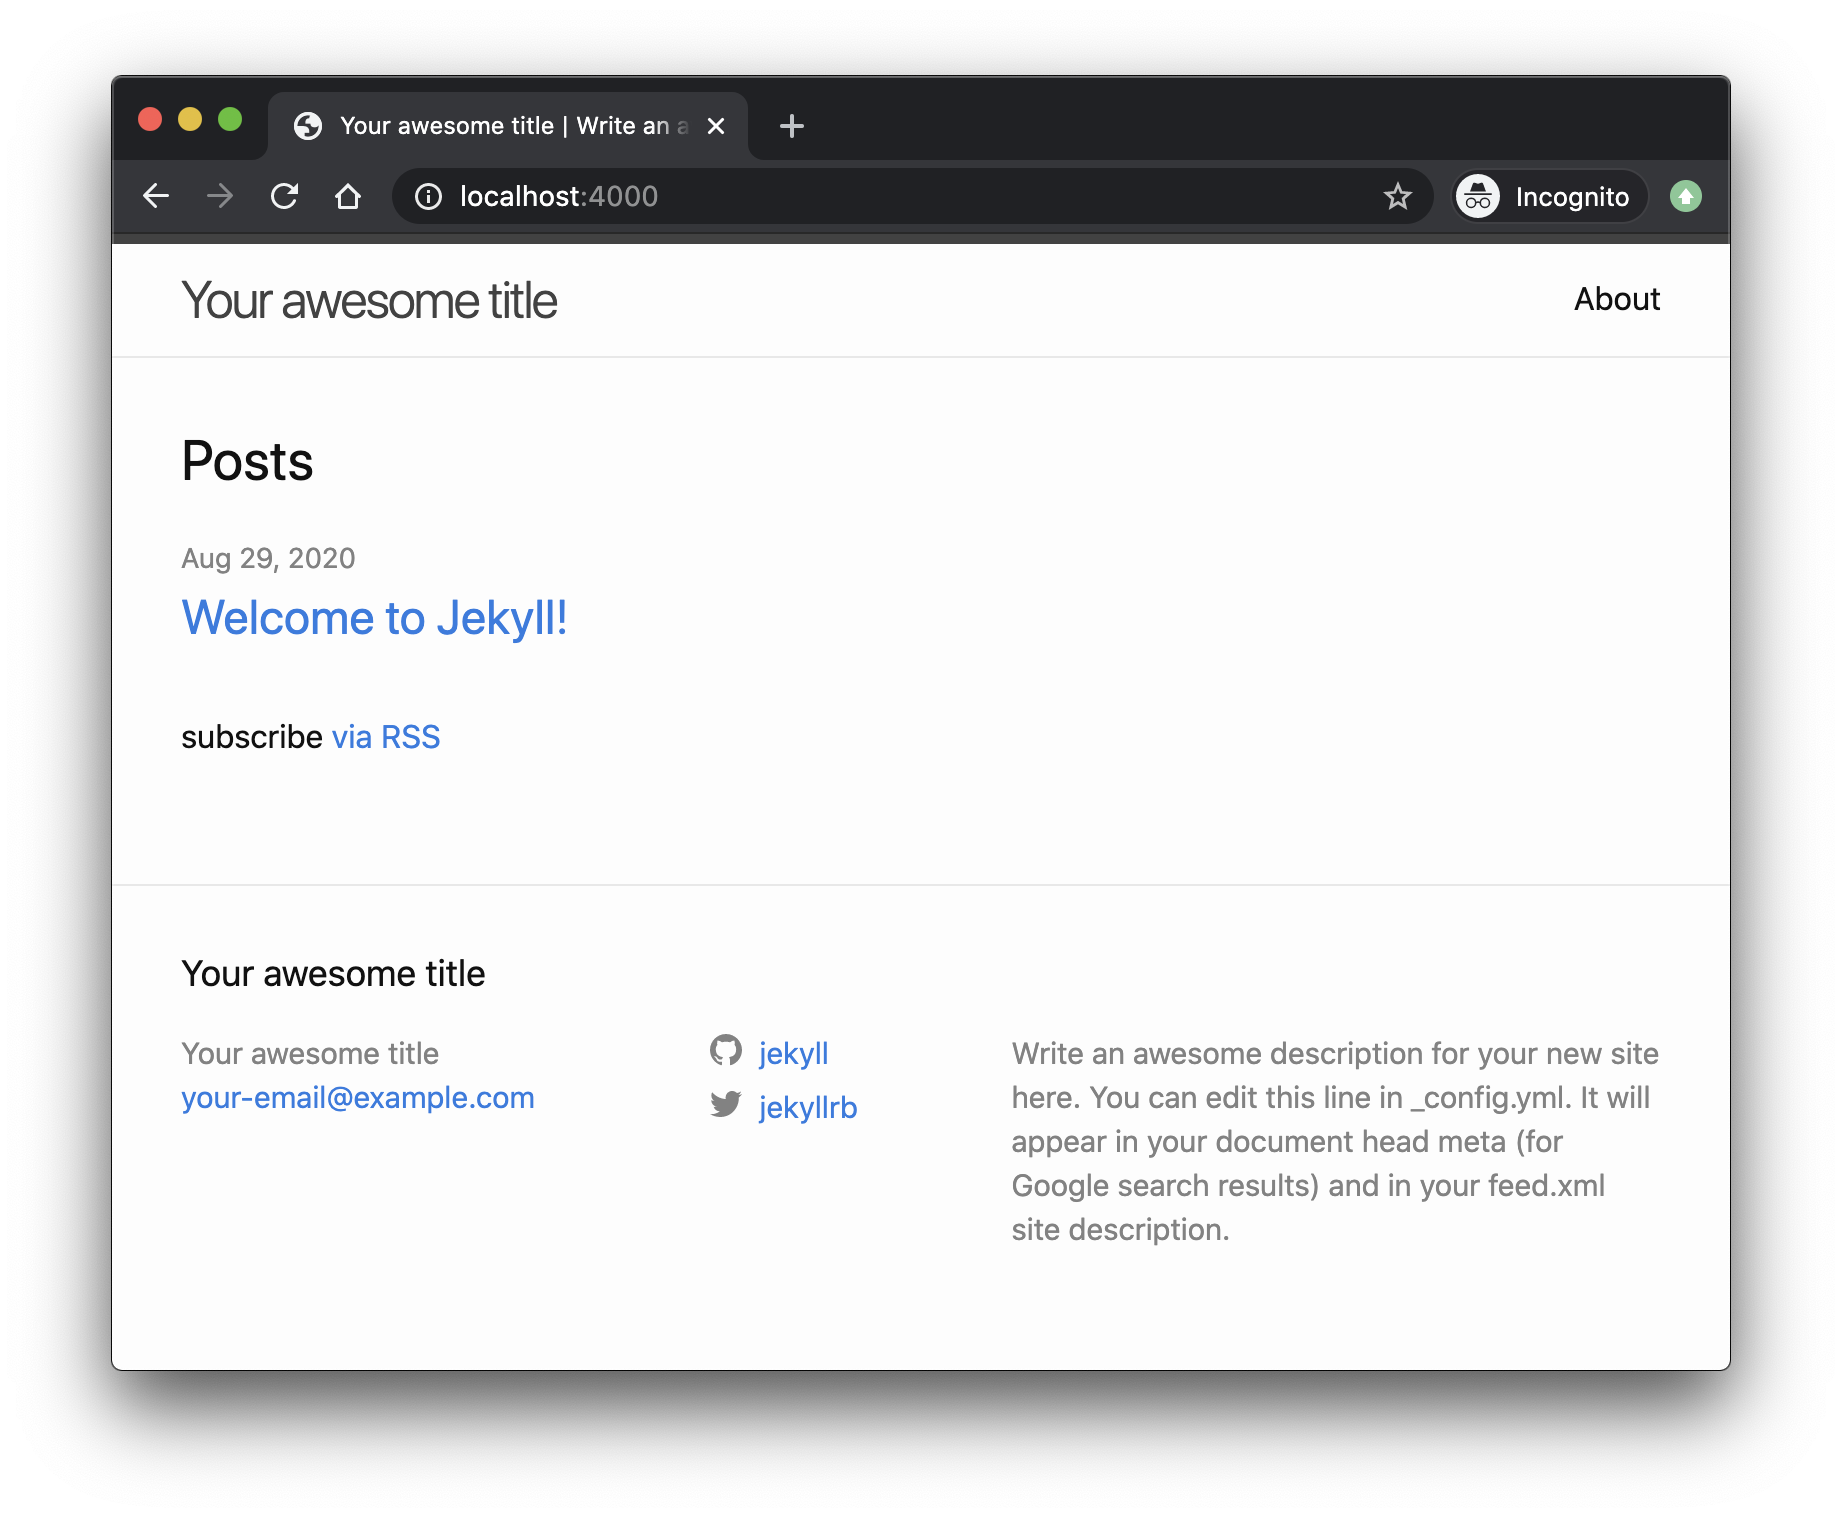 Jekyll screenshot.
Under the hood
I was actually more interested in understanding how the site is structured, so I fired up Visual Studio Code to have a look inside. I was happy with what I saw initially which nice and relatively empty project.
Tweaking
There were a couple of things that I did straight away because I have a particular preference for how my code should look. I started with the following changes:
-
Initialize a git repository. I’m planning on publishing to GitHub anyway and I want to do this as early as possible in case I break something, I’ll have a restore point.
git init git add -A git commit -am 'feat: initial commit' - Edit site configuration with the
_config.ymlfile. I updated the followingtitle,description,twitter_username, andgithub_username. - I didn’t like the
.markdownextensions for the markdown files so I renamed the files to.md. -
Configure VS Code with Prettier to automatically format the markdown files on save. I’m using the Prettier VSCode extension. This configuration makes me happy:
-
Create
.vscode/settings.jsonfile:{ "editor.formatOnSave": true } -
Create
.prettierrc.ymlfile:printWidth: 120 singleQuote: true tabWidth: 2 overrides: - files: '*.md' options: parser: markdown proseWrap: always
-
Publishing changes to GitHub pages
I followed the GitHub guide to complete this section but have summarized it to:
- Create a
github.iorepository to host the github sitesocsieng/socsieng.github.io. -
Add
github-pagesplugin toGemfile:group :jekyll_plugins do gem "jekyll-feed", "~> 0.12" gem "github-pages", "~> 207" end -
Push changes up to your repository:
git remote add origin git@github.com:socsieng/socsieng.github.io.git # I'm making main my default branch git checkout -b main git push origin main -
Configure GitHub pages the repository settings
 Configure GitHub Pages.
Up next
This was a fairly straight forward exercise, and if everything goes well with my next git command, I’ll have a blog post published at socsieng.github.io. And best of all, apart from some initial set up, it won’t have any ongoing operating costs.
There are couple things I’d like to follow up with, including: